Composting for Beginners: A Simple Guide to Start at Home
We may earn a commission for purchases made using our links. Please see our disclosure to learn more.
If you’ve ever tossed a banana peel in the trash and felt a tiny pang of guilt, you’re not alone. Composting for beginners might sound like something only die-hard gardeners do, but honestly? It’s one of the easiest and most rewarding eco-friendly habits you can build right at home. You don’t need a big backyard, expensive gear, or a degree in biology. You just need a little know-how — and that’s exactly what this guide gives you.
By the end of this article, you’ll know what composting is, what goes in the bin, how to start your first pile, and which products make the whole process smoother. Let’s dig in.
What Is Composting and Why Does It Matter?
Composting transforms food waste, dry leaves, paper and garden waste into a rich, brown, soil-like material. Instead of throwing banana peels and coffee grounds into the trash, you put them in a container or pile. Bacteria, fungi, worms, air and water facilitate the breakdown of everything in that pile.
It matters because composting keeps organic waste out of landfills, where it can release methane. A 2024 review in Sustainability also explains that composting can reduce waste, control odors, and turn scraps into a useful soil resource.
Compost also improves soil by adding nutrients, helping it hold moisture, and supporting helpful microorganisms. So, your kitchen scraps can help cut waste and build healthier soil.
What You Can (and Can’t) Put in Your Compost
One of the first things beginners want to know is what actually belongs in a compost pile. The good news is that the list is long. The better news is that the things you can’t compost are easy to remember.
Yes to compost:
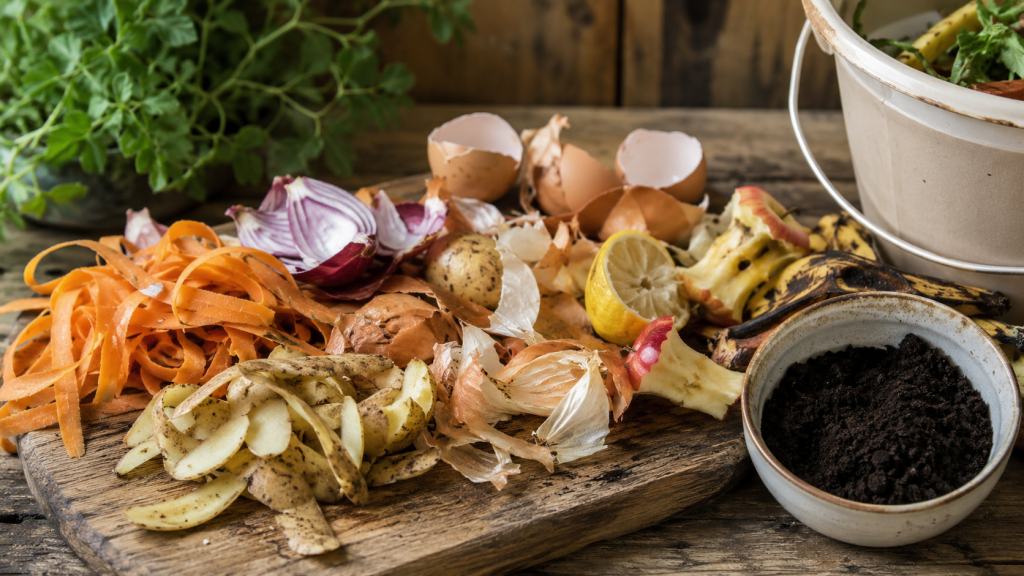
- Fruit and vegetable scraps
- Coffee grounds and paper filters
- Eggshells
- Grass clippings and leaves
- Cardboard and newspaper (shredded)
- Plant trimmings
- Tea bags (check that they’re plastic-free)
No to compost:
- Meat, fish, and bones
- Dairy products
- Oily or greasy food
- Pet waste
- Diseased plants
Keeping meat and dairy out isn’t just a rule — it’s practical. Those materials attract pests and create unpleasant odors, which nobody wants near their back door.
The Green and Brown Rule Explained
Successful composting comes down to one core principle: balance. For healthy compost, balance two types of ingredients: greens, which add nitrogen, and browns, which add carbon..
Greens include fresh grass clippings, vegetable peels, and coffee grounds. Browns are things like dried leaves, cardboard, paper bags, and straw. As a simple starting point, use about two to three handfuls of browns for every one handful of greens. When the pile has too many greens, it can turn wet, heavy, and unpleasant-smelling. Too much nitrogen-rich material can make compost clump together and smell unpleasant. Too many browns and it just sits there without decomposing.
An easy way to picture it is this: greens help heat things up and feed the microbes, while browns keep the pile airy and balanced. You need both.
How to Start a Compost Pile at Home: Step by Step
Starting your first compost setup doesn’t have to be complicated. Follow these steps and you’ll be well on your way.
Step 1: Choose your method
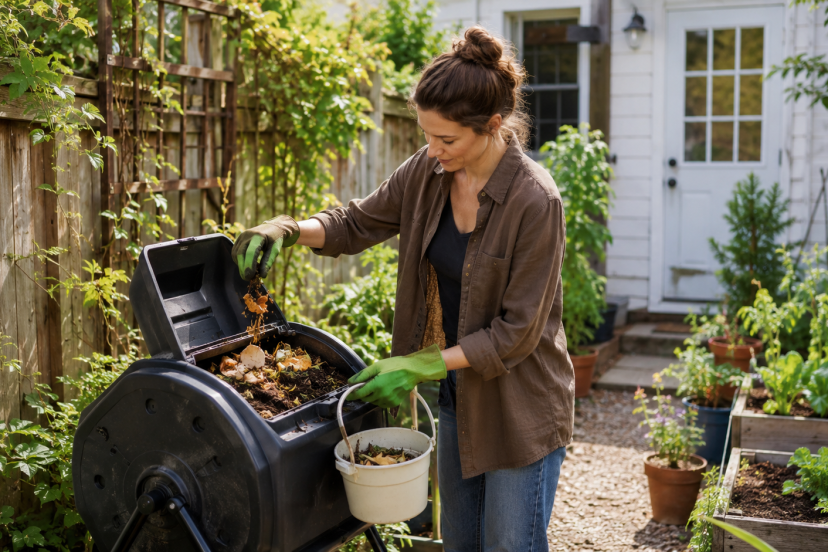
You have a few options: an open outdoor pile, a DIY bin made from pallets, or a purpose-built compost tumbler. Beginners often do best with a compact tumbler or a simple lidded bin — they’re tidy, contained, and keep pests out.
Step 2: Pick a location
Choose a spot that gets partial sun and is easy to access. Also, avoid placing your compost where it gets blasted by direct sun all day. Too much heat can dry it out fast. Too much shade slows decomposition. A shaded corner of your yard or even a balcony (for smaller kitchen composters) works just fine.
Step 3: Add your materials in layers
Start with a layer of coarse browns — wood chips or small sticks — at the bottom. This helps with drainage and airflow. Then alternate green and brown layers as you add materials. There’s no need to be overly precise, but keeping the ratio in mind helps.
Step 4: Keep it moist, not wet
The texture should stay lightly moist, almost like a sponge after you squeeze out the extra water. Damp is good. Dripping wet is not. If it’s too dry, decomposition stalls. If it’s waterlogged, it goes anaerobic and starts to smell. On dry weeks, give it a light watering.
Step 5: Turn it regularly
Turning your pile every 1–2 weeks introduces oxygen, which speeds up decomposition dramatically. A good compost aerator tool or simple garden fork works perfectly here.
Step 6: Wait and watch
Depending on conditions and how often you turn it, finished compost typically takes anywhere from 2 months to 6 months. You’ll know it’s ready when it looks dark, crumbly, and earthy-smelling — like rich forest soil.
Recommended Products
1. FCMP Outdoor IM4000 Dual Chamber Tumbling Composter
This tumbler is beginner-friendly because it keeps compost contained and easy to turn. The dual chambers help you start one batch while another breaks down.
2. EPICA Stainless Steel Compost Bin
This kitchen compost bin looks clean on the counter and helps collect scraps before you take them outside. The charcoal filter also helps control odor.
3. Utopia Kitchen Compost Bin
This is another simple countertop option for everyday food scraps. It is compact, easy to clean, and practical for small kitchens.
4. Vermicomposting Bin
If you want indoor composting, this worm bin is a solid choice. It stacks neatly and helps turn kitchen scraps into worm castings.
5. Fiskars Ergo Garden Fork
A sturdy garden fork makes it easier to turn compost, mix materials, and move finished compost into garden beds.
Best Composting Methods for Beginners
There is no single right method for composting for beginners. The best one depends on your space, your lifestyle, and how hands-on you want to be.
Backyard Compost Bin
This is the classic approach for composting for beginners. You place a bin outside, add your greens and browns, mix the pile occasionally, and let nature handle the rest. It works well if you have a yard, garden beds, or a regular supply of yard waste like leaves and grass clippings.
Compost Tumbler
A compost tumbler is a sealed bin you spin by hand. It keeps scraps contained, looks tidier than an open pile, and makes turning the compost much easier. This is a great option if you want less mess, fewer pests, and faster results.
Worm Composting
Also called vermicomposting, this method uses worms to break down food scraps. It works indoors, on a balcony, or in a small outdoor space. Worms need the right moisture and temperature to thrive, so it takes a bit more attention, but the compost they produce is incredibly rich and great for plants.
Community Composting
No yard? You can still compost. Many cities, farmers markets, community gardens, and local groups offer drop-off programs where you collect scraps at home and bring them in weekly or whenever your container fills up. It is a great option if space is limited.
Where to Place Your Compost Bin
Choose a spot that feels convenient. If the bin sits too far away, you may stop using it.
A shaded or partly shaded area works well because it helps the pile stay moist. Also, make sure the location drains well. You do not want the bottom sitting in standing water.
If you live close to neighbors, choose a covered bin and keep your greens balanced with plenty of browns.
How to Know Your Compost Is Ready
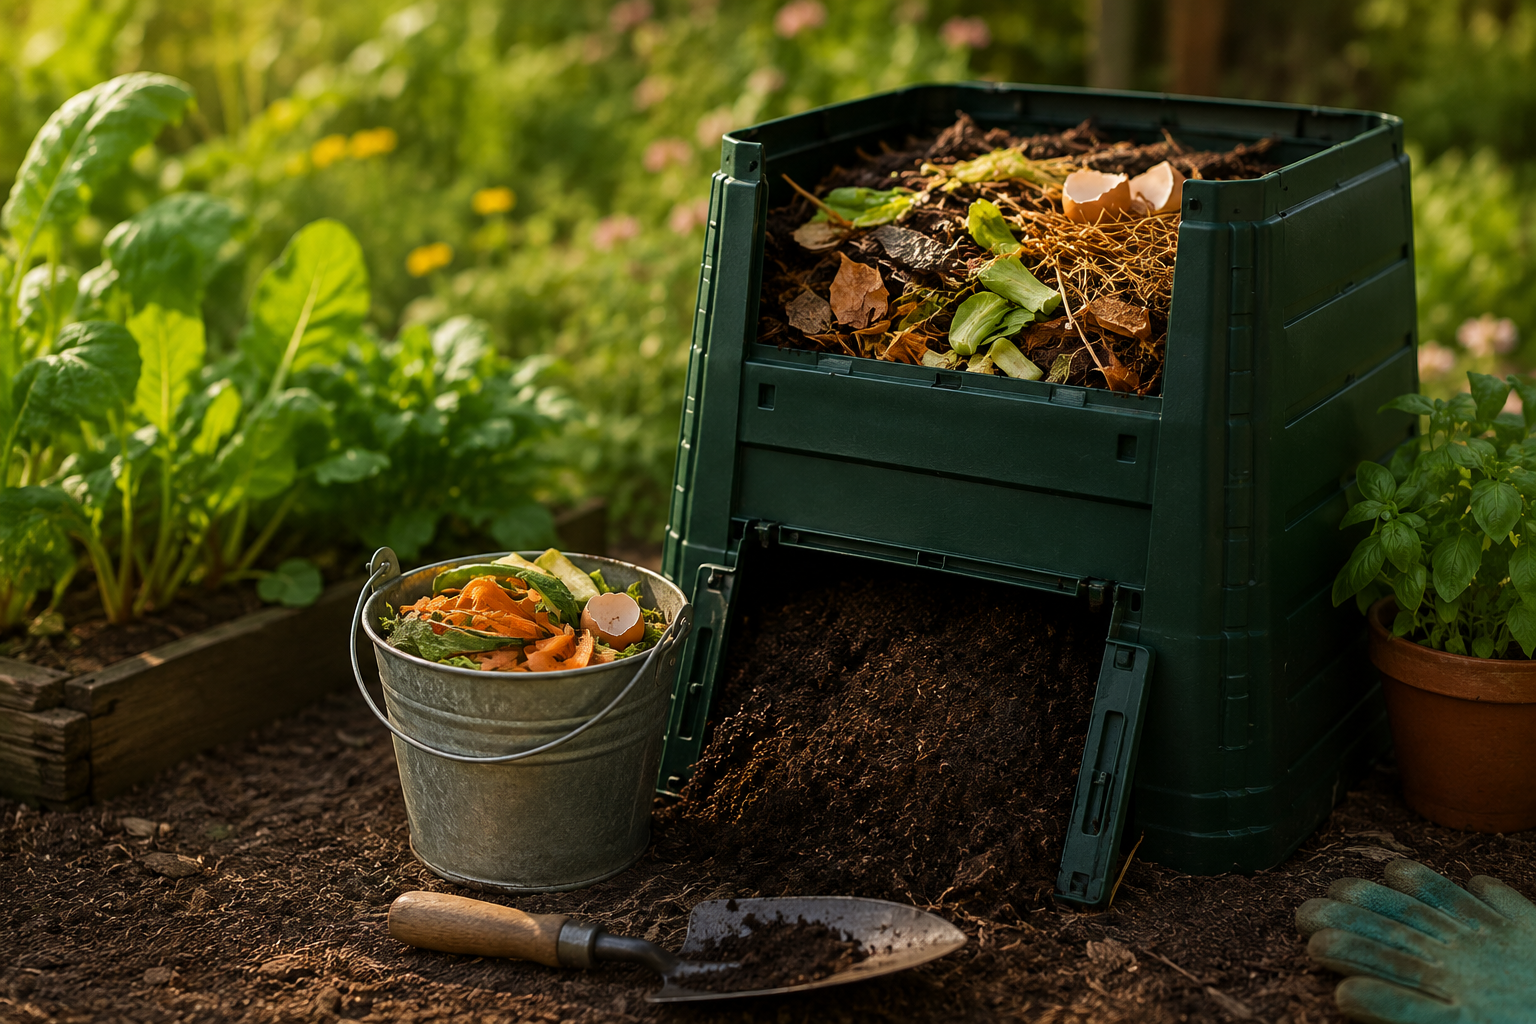
Your compost is ready when it looks dark, loose, and crumbly. It should feel more like soft soil than food scraps.
The smell is another good clue. Finished compost has an earthy smell, like fresh garden soil. If it smells sour or rotten, it needs more dry browns and better airflow.
You should also check the texture. If you can still see fruit peels, vegetable scraps, or large pieces of paper, let it break down longer.
Before using compost around seedlings, make sure it has fully matured. Fresh or unfinished compost can be too strong for young roots. Once you’ve started building more eco-friendly habits at home, you can also explore simple swaps like eco-friendly candles to make your space feel cleaner and greener.
How to Use Finished Compost
You can use finished compost in several easy ways:
- Mix it into garden beds
- Add it around plants as a top dressing
- Blend it into potting soil
- Spread it on lawns
- Use it around trees and shrubs
- Add it to raised beds before planting
Do not treat compost like pure fertilizer. Instead, think of it as a soil builder. It improves structure, moisture retention, and microbial life over time.
Common Composting for Beginners Mistakes
Adding Too Many Food Scraps
Too many greens can make compost wet and smelly. Add more dry browns to fix it.
Forgetting Browns
This is the big one. Browns balance moisture and odor. Keep shredded cardboard or dry leaves nearby.
Letting the Pile Dry Out
Moisture helps the tiny organisms break everything down. If your pile looks dusty, sprinkle in water.
Never Turning It
Compost needs air. Turn it occasionally with a garden fork, shovel, or tumbler handle.
Expecting Perfection
Your first batch may not look like garden-center compost. That is fine. You are learning.
Conclusion
Composting for beginners does not have to feel complicated. Start with a small scrap bin, add a mix of greens and browns, keep things slightly moist, and let nature work. Over time, you will send less waste to the landfill and create something useful for your plants. It is a small habit, but it can make your home feel more intentional, more sustainable, and a little more connected to the earth.
FAQs
What is the easiest composting method for beginners?
A compost tumbler is often the easiest outdoor method because it keeps everything contained and simple to turn. For small spaces, community composting or worm composting can work well.
Will my compost bin smell?
Good compost usually smells clean and earthy. If it smells rotten, you likely have too many greens, too much moisture, or not enough air. Mix in dry browns and give the pile a good turn.
Can I compost without a backyard?
Yes. You can use a worm bin, indoor compost system, balcony bin, or local compost drop-off program.
How often should I turn compost?
Turn compost every one to two weeks if you want faster results. If you turn it less often, it will still break down, but more slowly.
Can I put compost directly on plants?
Yes, once it is fully finished. Use it around plants, mix it into garden beds, or add it to containers. Avoid using unfinished compost on delicate seedlings.